Are you looking to revamp your living space while staying environmentally conscious? Upcycling furniture is the perfect solution for you. By repurposing old pieces, you can create unique, eco-friendly furniture that adds character and style to your home. Whether you’re a novice or a seasoned DIY enthusiast, upcycling furniture is a rewarding and creative way to transform your space. Let’s explore some tips and ideas to help you get started.
Key Takeaways:
- Upcycling furniture allows you to give old pieces a new purpose while reducing waste and promoting sustainability.
- Adding new hardware to furniture can instantly refresh its look and give it a modern touch.
- Repainting furniture is an easy and budget-friendly way to transform old dressers, creating a focal point in any room.
- Using stencils adds flair and allows you to create unique designs on your upcycled furniture.
- Refinishing wood can conceal scratches and imperfections, giving your furniture a fresh and polished appearance.
Add New Hardware
One simple way to refurbish furniture is by adding new hardware. Whether you’re updating kitchen cabinets or giving an old dresser a makeover, changing handles and knobs can make a noticeable difference. By switching up the materials and finishes of your hardware, you can easily change the design style of your furniture. This can be especially useful for furniture pieces that need to evolve over time, such as in a child’s bedroom.

When it comes to upcycling furniture, new hardware can breathe new life into old pieces. The right handles and knobs can instantly update the look and feel of your furniture, giving it a fresh and modern appeal. Whether you opt for sleek metallic finishes, colorful ceramic knobs, or rustic vintage-inspired handles, the choice of hardware can greatly impact the overall aesthetic.
Additionally, by choosing hardware that matches your desired design style, you can create a cohesive look throughout your space. For instance, if you’re aiming for a farmhouse-inspired decor, consider opting for distressed metal handles. On the other hand, if you’re going for a more modern and minimalistic vibe, sleek and streamlined handles would be the perfect choice.
When selecting new hardware, consider the existing color palette and materials in your space. Ensure that the hardware complements the overall aesthetic rather than clashing with it. It’s also important to measure the existing holes on your furniture to ensure a proper fit for the new hardware.
By investing in new hardware, you can give your furniture a new lease on life without the need for major construction or expensive replacements. Upcycling furniture with new hardware is a cost-effective and creative way to transform your space, showcasing your unique style and personality.
Brighten Up an Old Dresser
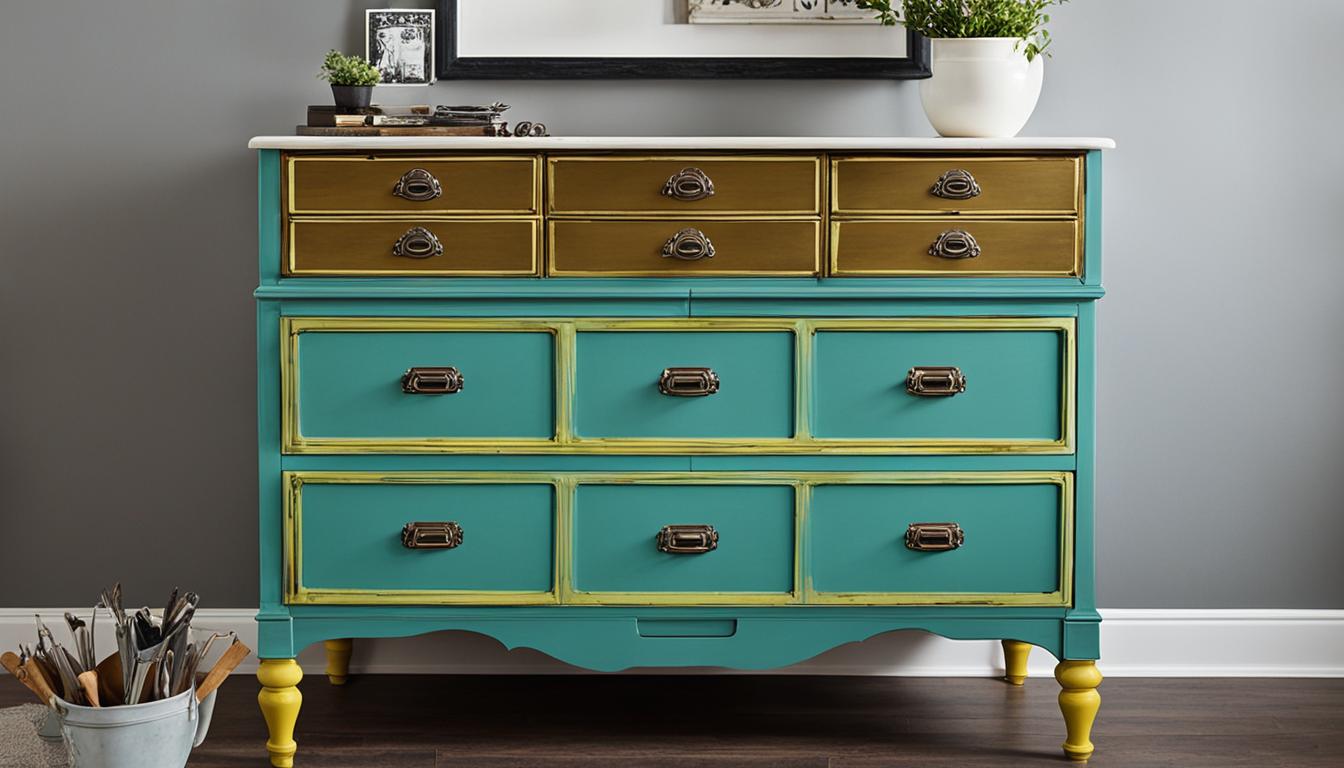
Repainting furniture is a beginner-friendly DIY project that can instantly make an old dresser feel brand new. With a fresh coat of paint, you can completely transform the look and feel of the piece.
Consider choosing a mood-boosting color to make your dresser a focal point in a room. For a fun twist, you can also paint each drawer a different color to create a playful and unique design.
Repainting your dresser is a fantastic way to upcycle furniture and give it a fresh, modern look. It’s a great opportunity to let your creativity shine and add a personal touch to your home decor. Plus, it’s a cost-effective solution that can breathe new life into an old piece.
Step-by-step guide to repainting your dresser:
- Start by removing any hardware, such as knobs or handles. Set them aside in a safe place.
- Thoroughly clean the dresser to remove any dust, dirt, or grease. This will ensure that the paint adheres properly and lasts longer.
- If the dresser has existing paint, you may need to sand it down to create a smooth surface. Use a medium-grit sandpaper and work in the direction of the wood grain.
- Once the surface is smooth, apply a primer to help the paint adhere better and prevent any stains or bleed-through.
- Choose a paint color that suits your style and the overall theme of your room. Acrylic latex paint is a popular choice for furniture due to its durability and easy clean-up.
- Apply two thin coats of paint, allowing each coat to dry completely before applying the next. This will ensure a smooth and even finish.
- If you want to add a distressed look, lightly sand the edges and corners of the dresser after the paint has dried. This will give it a vintage, worn-in feel.
- Once the paint is completely dry, reattach the hardware and give your dresser a final wipe down with a damp cloth.
- Now you can proudly display your newly repainted dresser and enjoy the refreshed look it brings to your space.
Repainting furniture is not only a great way to upcycle old pieces but also a fun and rewarding DIY home project. It allows you to unleash your creativity and give your space a personal touch. So, grab your paintbrushes, choose your favorite colors, and start transforming your old dresser into a stunning statement piece!
Use a Stencil to Update Furniture
Stencils are a versatile and creative tool when it comes to upcycling furniture. Whether you want to make a bold statement or achieve a more understated look, stencils can help you transform your furniture into a unique and eye-catching piece.
When choosing a stencil, consider the size and style that best suits your furniture and desired outcome. If you’re looking to create a statement piece, opt for a large and bold stencil that commands attention. This works well for side tables in your entryway or as a focal point in your living room.
If you prefer a more subtle and understated look, a smaller and more detailed stencil would be ideal. This option is perfect for repainting furniture with delicate patterns or intricate designs. Stencil motifs such as floral patterns, geometric shapes, or artistic motifs can add a touch of elegance and personality to your furniture.
Quality stencils are readily available
You can find a variety of stencils at craft stores, home improvement stores, or even create your own using a computer. There are many online resources that offer printable stencil templates, allowing you to customize your design and size according to your preferences.
When it comes to using a stencil, the process is straightforward. Start by securing the stencil firmly onto your furniture surface using painter’s tape or adhesive spray. Then, using a stencil brush or sponge, apply paint evenly over the stencil openings. Take your time to ensure clean and crisp lines, allowing each layer to dry before moving on to the next.
With stencils, the possibilities are endless. Whether you want to add a touch of elegance, create a whimsical design, or infuse your furniture with a pop of color, stencils can help you achieve the desired effect. So, let your creativity flow and turn your furniture into a true statement piece with the help of stencils.

Refinish Wood Pieces
If you have wooden furniture that is showing signs of wear and tear, refinishing can breathe new life into it. Refinishing wood is a satisfying DIY project that allows you to restore the beauty and charm of your furniture. Whether you have scratches, nicks, or an outdated stain, refinishing can give your wooden pieces a fresh and updated look.
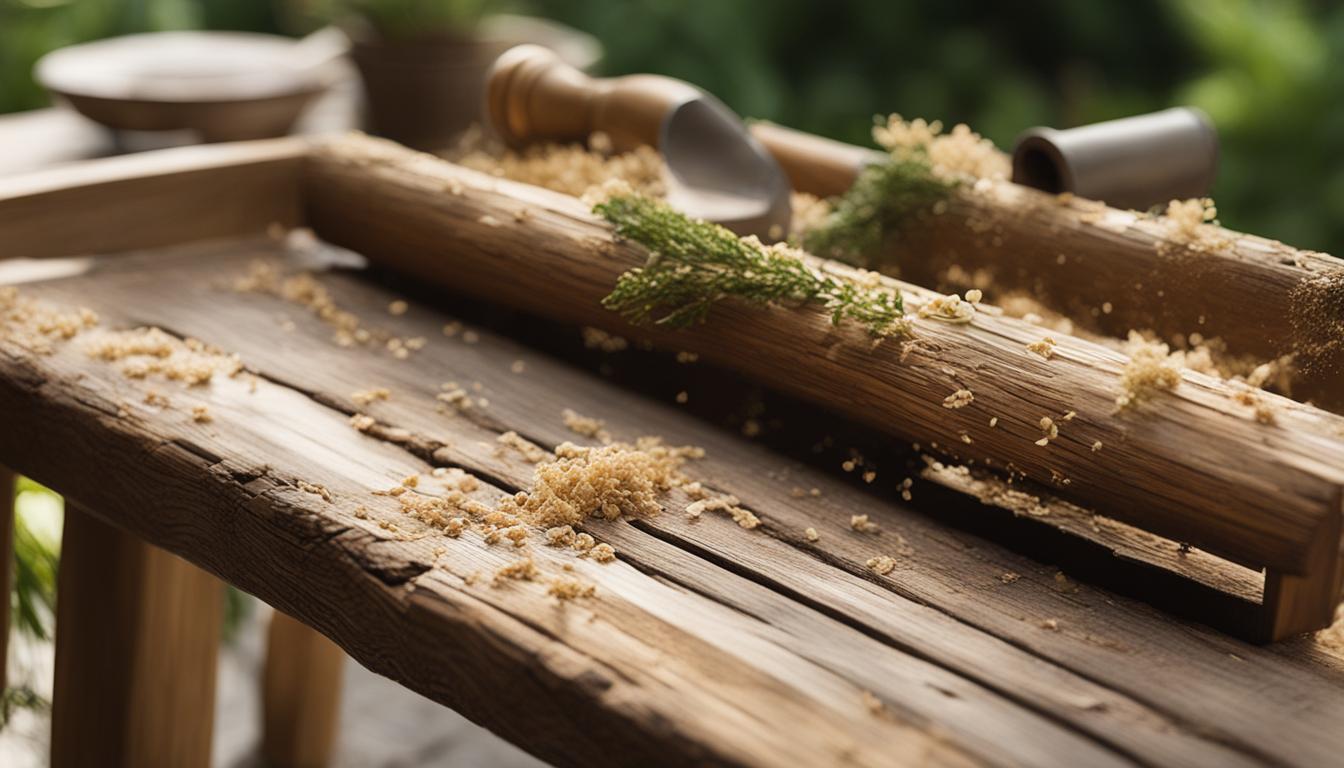
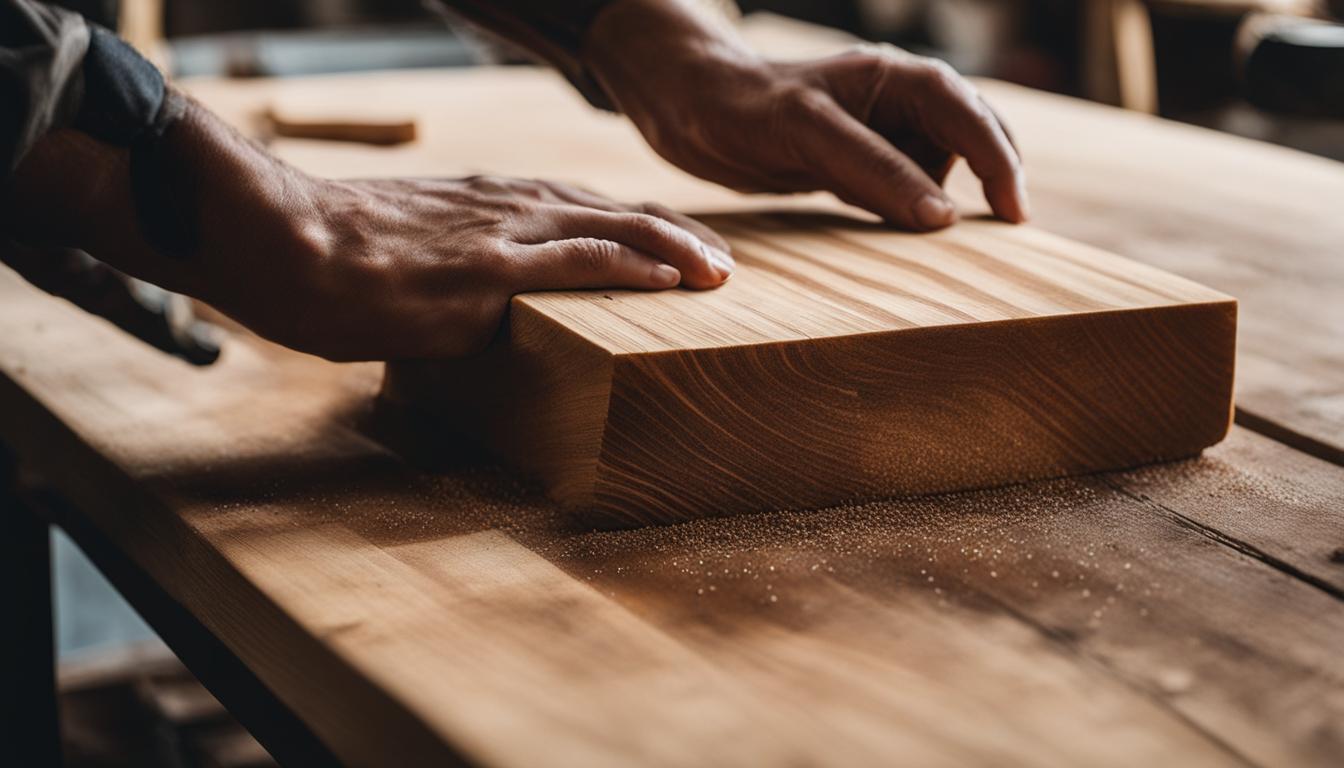
To begin the refinishing process, you’ll need to sand down the old stain or finish. This will remove any imperfections and create a smooth surface for the new stain or finish. Use a medium-grit sandpaper and work in the direction of the wood grain. Take your time and be thorough to ensure an even and consistent result.
Once the old stain or finish is completely removed, you can choose a new stain or finish to apply. Consider the overall style and aesthetic you want to achieve. Whether you prefer a natural, rustic look or a sleek, modern finish, there are a variety of stains and finishes available to suit your taste.
To conceal smaller scratches or imperfections, you can use wood markers, filler, or putty. These products come in a range of colors to match your furniture and can effectively hide any blemishes. Apply the product according to the manufacturer’s instructions and blend it in seamlessly with the surrounding wood.
Before refinishing, determine if your furniture piece is already painted. If it is, you may need to strip the paint before applying a new stain. Paint stripper can be applied using a brush or spray, and it will dissolve the old paint, allowing you to remove it easily. As with any chemical products, follow the instructions and work in a well-ventilated area.
Refinishing wood can be a rewarding and cost-effective way to give your furniture a new lease on life. With some time and effort, you can transform your worn-out wooden pieces into beautiful, refreshed furniture that adds character to your home.

Reveal the Natural Beauty
“Refinishing wood not only conceals scratches and imperfections but also reveals the natural beauty of the wood grain. It’s a transformative process that allows you to showcase the unique character and charm of your furniture.”
Make a DIY Rustic Table
If you’re looking to add a touch of rustic charm to your farmhouse dining room, why not try making your own DIY rustic table? Upcycling furniture is a great way to create unique pieces that reflect your personal style. By giving your current dining table a makeover, you can achieve the farmhouse look you’ve always dreamed of.
To start, assess the condition of your current table. If it’s wood, sand down the old stain to create a smooth surface for painting. If your table has any scratches or imperfections, consider using wood filler to repair them. Once the surface is prepped, it’s time to choose a vibrant and earthy paint color that matches your rustic aesthetic.

“Creating a DIY rustic table allows you to repurpose your existing furniture while adding a charming touch to your farmhouse dining room.”
Apply a coat of paint to your table, ensuring all surfaces are covered. For a distressed look, use sandpaper to gently roughen up the paint in certain areas, creating a weathered effect. This will give your table a rustic and aged appearance.
Pro Tip: If you want to add extra character to your table, consider using a staining technique to enhance the wood grain. This can create a beautiful rustic effect that complements the farmhouse style perfectly.
Once the paint is dry, you can add additional details to your DIY rustic table. Consider attaching decorative brackets or trims to the table legs or distressing the edges slightly for a more authentic farmhouse look.
Finally, protect your table’s surface by applying a clear sealant or wax. This will ensure the paint and any distressing effects are preserved and can withstand everyday use.
By making your own DIY rustic table, you not only save money but also have the satisfaction of creating a unique piece of furniture that fits perfectly in your farmhouse dining room. So get creative, embrace the rustic charm, and enjoy the cozy atmosphere your DIY table will bring to your home.
Reupholster Vintage Chairs
Upcycling furniture is all about giving old pieces a new lease on life, and reupholstering vintage chairs is a fantastic way to achieve that. With a little effort, you can transform these antique chairs into stylish and unique pieces of furniture.
When you decide to reupholster a vintage chair, it’s best to start small with a manageable project. Choose a chair that you feel comfortable working on for your first reupholstering endeavor. This way, you can gain confidence and experience before tackling more complex projects.
To begin the reupholstering process, remove the outdated fabric from the chair. Carefully strip away any staples or fasteners, and discard the old fabric. Next, select a new fabric that suits your personal style and the overall aesthetic of your space. Ensure that the fabric is durable and can withstand regular use.
Depending on the age and condition of the chair, you may also need to replace the padding. Check the integrity of the cushioning and springs, and make any necessary repairs or replacements. This step will not only enhance the comfort of the chair but also prolong its lifespan.
If you’re not confident in your reupholstering skills or you’re working with a particularly intricate vintage chair, it’s always a good idea to seek professional help. Upholsterers have the expertise and tools to handle complex projects, ensuring a high-quality result.
By reupholstering vintage chairs, you not only bring new life to these cherished pieces of furniture but also create personalized and one-of-a-kind seating options. So, get started with upcycling furniture and enjoy the satisfaction of transforming antique chairs into beautiful and functional pieces for your home.
FAQ
How can I transform my space with upcycling furniture?
You can transform your space by repurposing and refurbishing old furniture, creating eco-friendly and stylish home decor.
What is a simple way to refurbish furniture?
One simple way to refurbish furniture is by adding new hardware, such as handles and knobs, which can change the design style of your furniture.
How can I brighten up an old dresser?
You can instantly make an old dresser feel brand new by repainting it with a fresh coat of paint. Choosing a mood-boosting color or painting each drawer a different color can add a playful and unique touch.
How can I update furniture using stencils?
Stencils are a great way to add flair to furniture. Whether you want to create a statement piece or achieve an understated look, stencils can help you achieve the desired effect. You can find stencils at craft stores or create your own using a computer.
How can I refinish wood pieces?
To refresh furniture made of wood, you can sand down the old stain and apply a new one. You can also use wood markers, filler, or putty to conceal smaller scratches. If the piece is already painted, stripping the paint before adding a new stain may be necessary.
How can I make a DIY rustic table?
Instead of buying a new dining table, you can upcycle your current one into a rustic table. Sand down the old stain, add a vibrant coat of paint, and distress the paint with sandpaper to achieve a rustic look. This budget-friendly project can help you create a farmhouse dining room.
How can I reupholster vintage chairs?
Reupholstering vintage chairs is a great way to breathe new life into them. Start with a manageable chair, remove the outdated fabric, and replace it with a new fabric of your choice. Depending on the chair’s age and condition, you may need to replace the padding as well.
Source Links
- https://www.cubesmart.com/blog/your-home/diy-projects/tips-to-upcycle-furniture-for-a-brand-new-look/
- https://upcyclethat.com/using-upcycled-furniture-to-transform-your-apartment/
- https://www.extraspace.com/blog/home-organization/diy-projects/diy-ideas-to-upcycle-repurpose-furniture/


